Another Christmassy mani, it’s busy because there is quite a lot going on in the one mani and because Christmas is a busy time anyway. Are you a have it all done by November type of person or a last minute Christmas eve shopper? Or, are you like me and fall in between somewhere, where you have most of it done, but realise in the last few days that there are a few things you have forgotten? I’m in that stage now, and it’s not going too well shopping wise.
Red and gold look great together, and is a great staple of Christmas colours. What better way to do it than to use some gold studs.
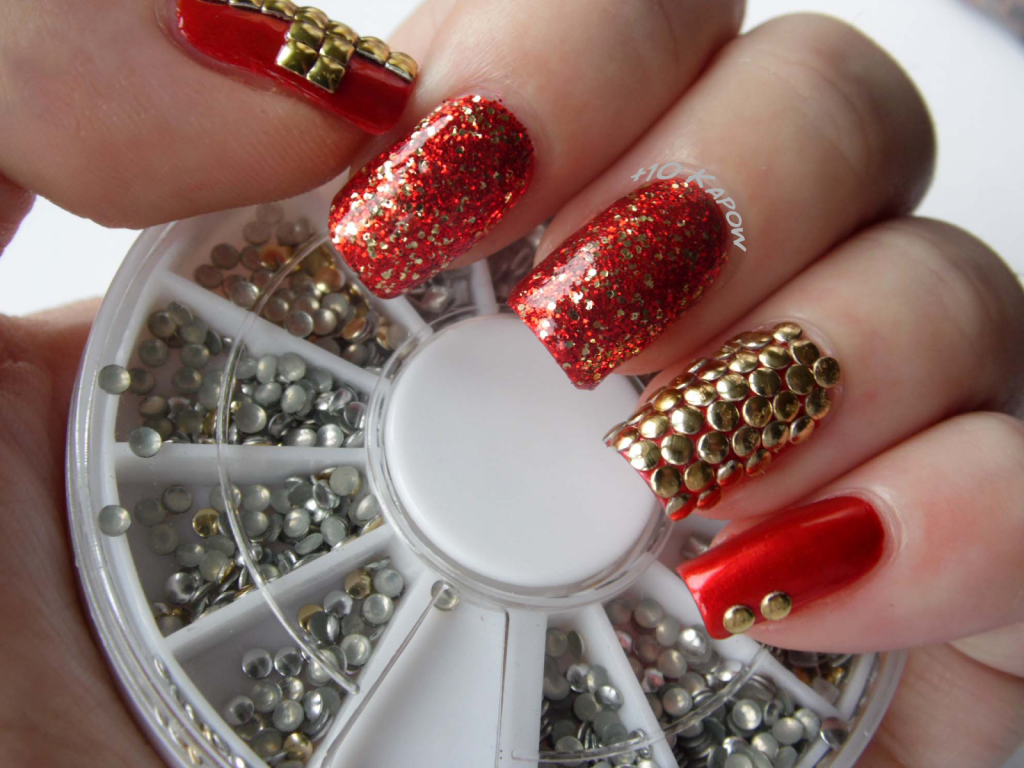
I used some 2 different kinds of studs from the Born Pretty 2mm stud wheel which you can find here. The wheel contains 350 studs in gold and silver, round and square. I decided to mix it up a bit, and, as you can see, I used some of the squares to make a cross on my thumb.
I used the round gold studs to completely cover the nail on my ring finger and added 2 studs to the top corner of my pinkie nail. 2mm studs are the perfect size for the full coverage, I think any bigger and they wouldn’t have looked as good. This created some funky Christmas nail art.
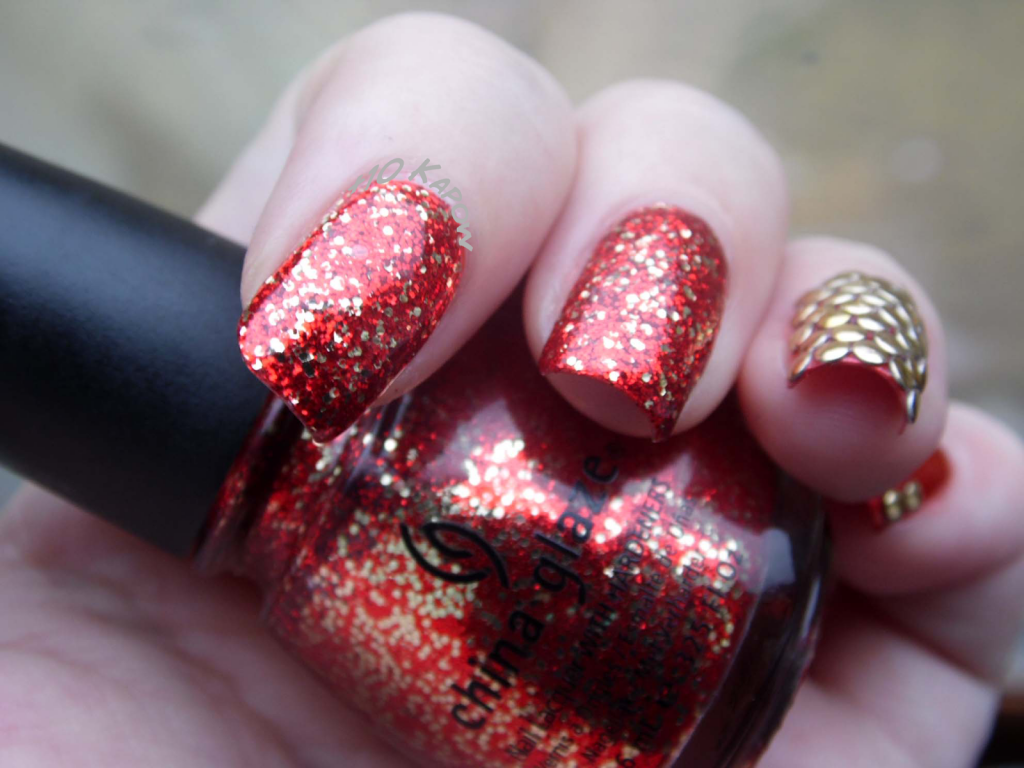
Then, because it’s Christmas, there had to be a bit of glitter, and what better glitter for this mani than China Glaze Pure Joy. Isn’t it pretty? You can’t really see it in the pictures, but every now and then, the lights catches the red glitter and looks absolutely beautiful. This was 3 thin coats to make sure I had full coverage. I then applied 3 coats of Seche Vite to get it smooth.
I have used Born Pretty studs in a few mani’s before, which you can see here, here and here, and I have always kept the mani’s pretty simple and similar before, so because the wheel has so many studs, I wanted to try something a bit different and I do love the look of the full stud coverage, even if it does need a bit of perfecting.
The red polish is Nails Inc Luminous Red, I used 2 coats of this just to be safe but because it is a metallic and applied beautifully, you can just use one coat.
The studs are really easy to apply,
Step 1: I recommend tipping a small amount of the studs onto a piece of paper on a flat surface, and make sure you have enough turned the right way up for what you are planning to do.
Step 2: Apply a coat of clear polish or slow drying top coat on top of your already painted nails. Also put a little blob onto a piece of paper.
Step 3: Dip the end of a cocktail stick or orange stick into the blob on the piece of paper, then touch it to the top of a stud to pick it up. (don’t get too much on the end of the stick or it might be a pain to get the stud onto the nail)
Step 4: Place on your nail where you want it. You can use the cocktail stick/orange stick to re-position it if you don’t manage to get it perfect.
Step 5: Once all studs are positioned how you want them, apply top coat of your choice.
The 2mm stud wheel is $5.59(about £3.42) from Born Pretty Store, which delivers anywhere in the world for free. AND, if you want to do a little bit of self love Christmas shopping, you can use my code for 10% off, Just enter code CBAQ10.
There is also currently a 20% off sitewide sale going on until Christmas Eve.
:)x


