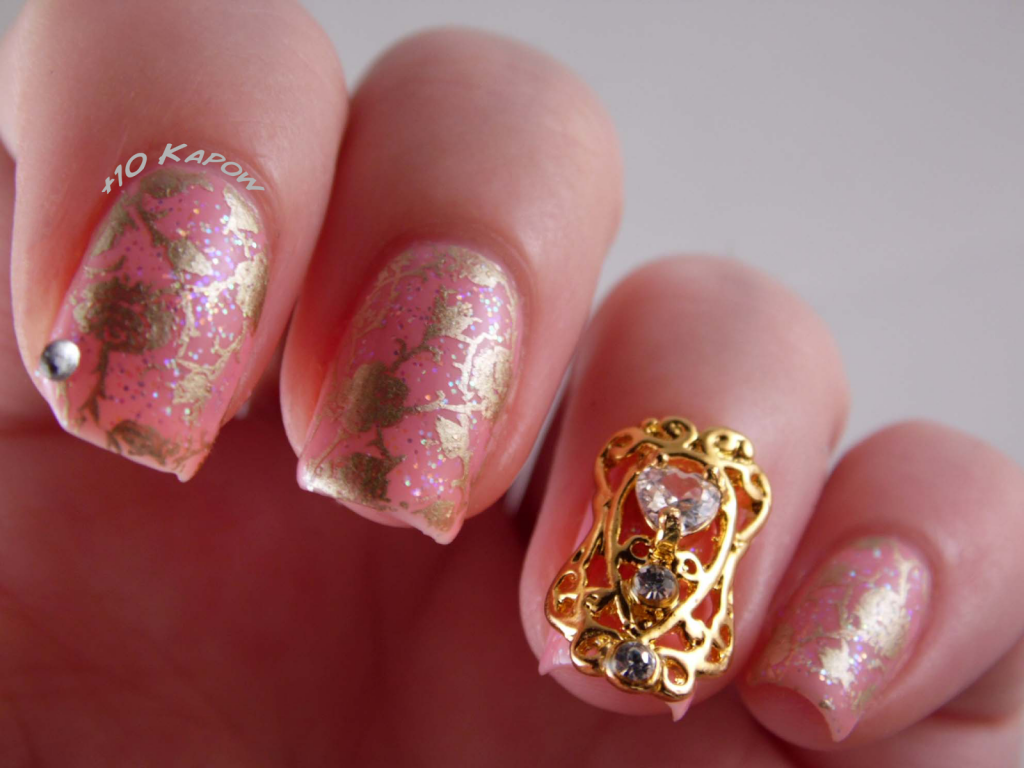
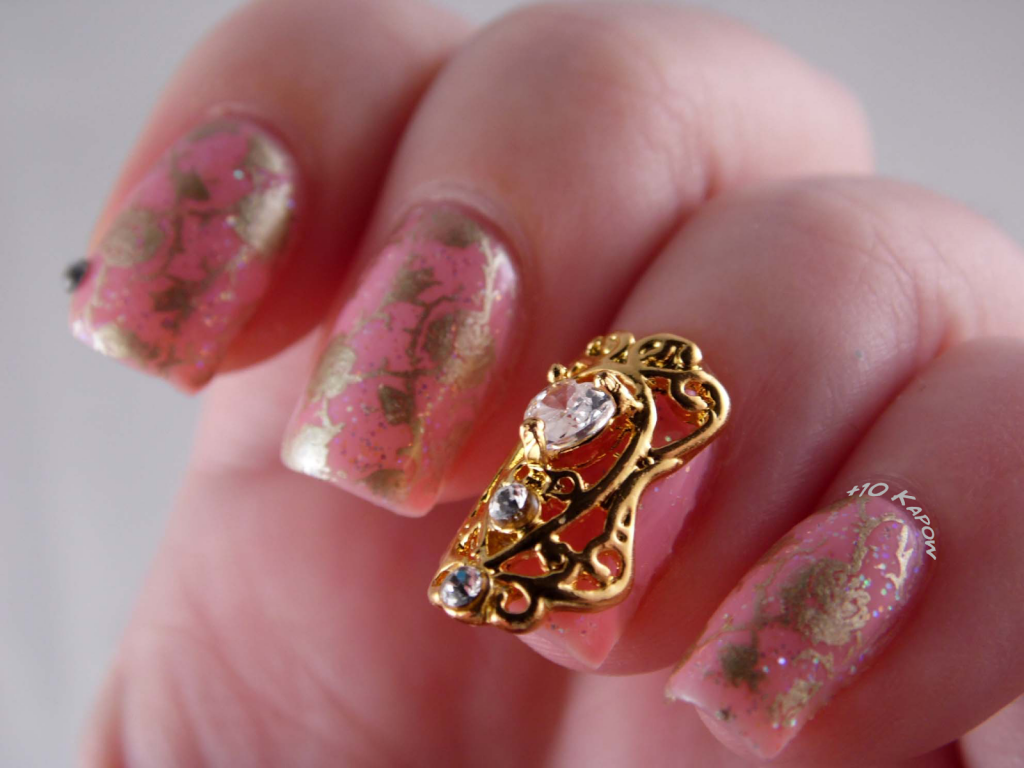
When I first saw this embellishment on the Born Pretty Store, I immediately thought ‘Princess’. When I received it, I thought ‘Pink’ and ‘Glitter’.
I’ve expressed it many times on the blog that I’m not really that into pink on my nails, but I’m starting to come around to the colour and who doesn’t want to feel princessy for a day? But don’t worry, its not all going to be fluffy and pink on the blog from now on, this is a once in a blue moon type of thing and for this Princess nail art, it just had to be pink.
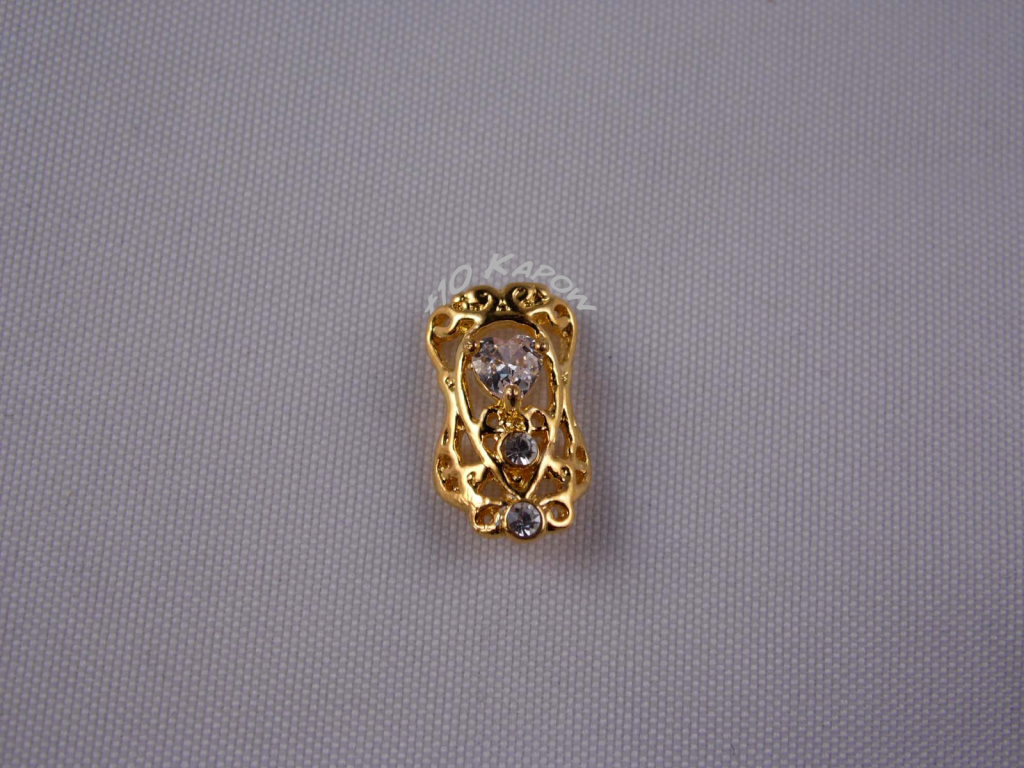
The 3D embellishments are really pretty, and you get 2 for $1.99 (about £1.21), and there are 23 different styles of these in both gold and silver. Each one, has some crystal gems on them, the ones I chose have a larger heart gem and 2 smaller round gems.
They are actually much sturdier than I imagined they would be and if using top coat to attach it, you can definitely get multiple uses out of them. That’s how I did it, so if using glue, I’m not quite sure how many uses you could get.
Lets be honest, they aren’t practical for every day use, but would be really good for special occasions or a night out. After doing the Princess mani, I came to the conclusion that they would look really pretty for a Bridal manicure, just a really simple mani with this as the focus nail.
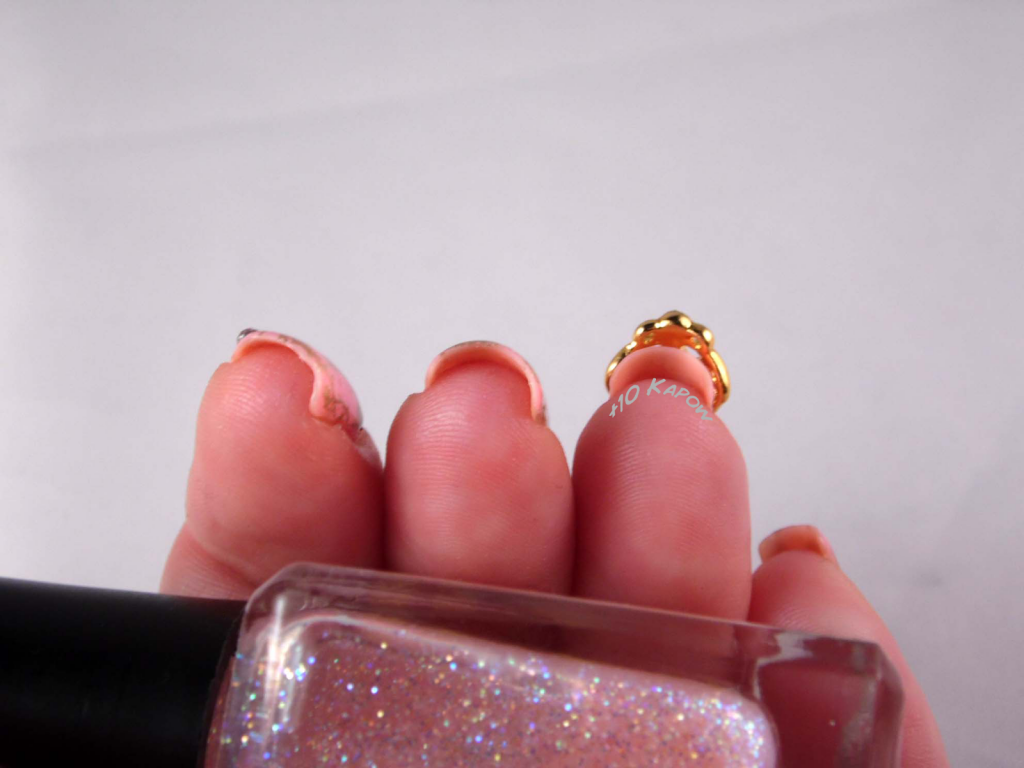
There were a couple of downsides to the embellishment, one of which was that, even though my nails are quite curved, they didn’t seem to be curved enough for the embellishment, this resulted in a gap between the nail and parts of the embellishment.
This gap meant that it would be easier to catch it on something and pull it off. However, unless you are looking at it from the angle in the photo above, it does not take away from how pretty it looks on the nail.
The other downside, was that it was slightly longer that my nails at their current length, but this can be rectified by a little bit of growth on the nails before the occasion you will be using the embellishment.
The length of this charm is 16mm, there are some of the charms on the list that are 15mm and some that are 17mm.
The widths of the charms also vary, some 10mm and some 11mm. You can see that this design doesn’t quite reach the edges, but at 10mm and with a curvy design, there should be some embellishments that will meet the edges more or less if that is how you like it.
I used one coat of Seche Vite and placed the embellishment on the nail, once in place, I put a small amount of pressure on it to make sure as many points as possible were touching the nail. I wore it for a couple of hours on the night, moving around, making something to eat, playing with the cat etc, and it stayed on. I didn’t do dishes or anything like that but I wouldn’t wear something like this for day to day stuff anyway.
The removal was really easy, I just pushed an orange stick up under one side and it popped right off. There was no polish stuck to the underside and no colour had come off the charm. As I said, glue to attach may make a difference to how smoothly this part of the process would go.
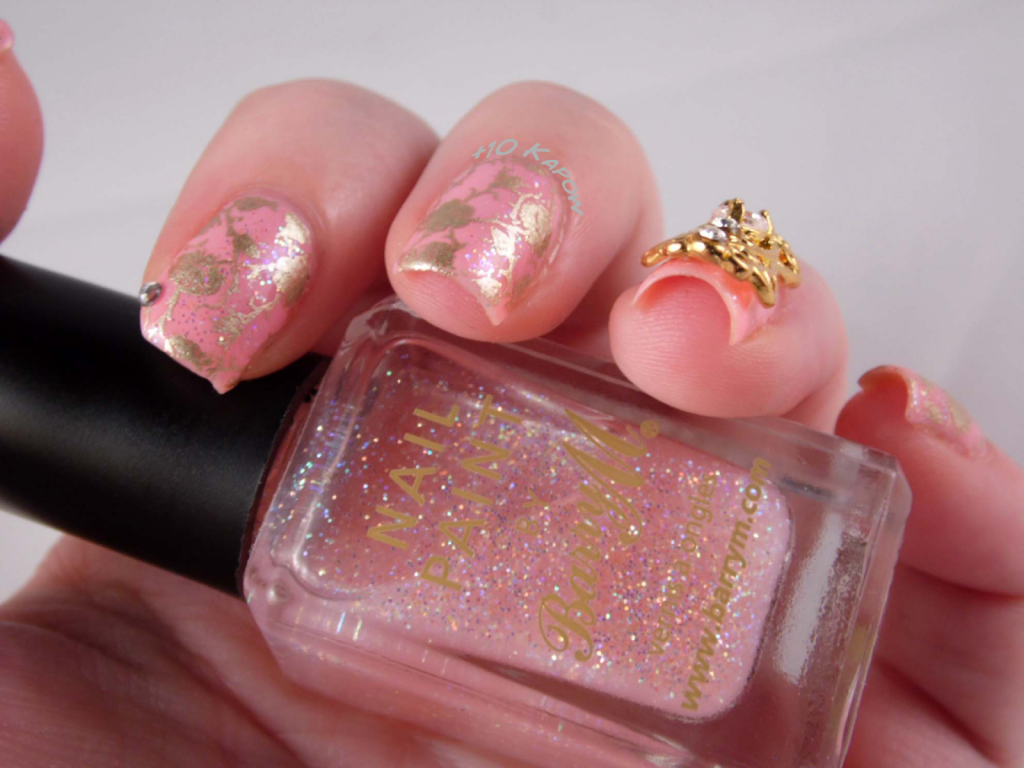
For the rest of the mani, I used 3 coats of Barry M Strawberry Ice Cream and 1 coat of Barry M Iridescent Pink. The stamping was a rose design from Moyou Pro Collection 8 stamping plate using Barry M Gold Foil, and all topped with a coat of Seche Vite.
Overall, I’m really happy with this mani, I do wish that I had a bright orange/gold polish that I could have used for the stamping so it would match, but with the way it turned out, the other nails don’t take away from the embellishment.
Don’t forget, if buying anything from Born Pretty, you can enter my discount code at checkout to receive 10% off your order total and they have free worldwide delivery.
:)x
*This item was sent to me for review. All opinions expressed in this post are my own and are completely honest.

